
Planning a kitchen layout can feel overwhelming when you face dozens of decisions about appliances, cabinets, lighting, and workflow. A structured checklist helps you organize every detail and avoid costly mistakes during construction or renovation. This guide breaks down the essential planning steps, highlights common pitfalls, and provides practical advice for creating a kitchen that works for your daily routine.
Whether you are redesigning an existing space or building from scratch, understanding key layout principles saves time and money. This article walks you through six actionable steps, explains what to watch for at each stage, and summarizes the most important takeaways for your project.
Step One: Measure Your Space and Identify Fixed Elements
Begin by recording the exact dimensions of your kitchen footprint. Use a tape measure to capture the length and width of each wall, then note the location of windows, doors, electrical outlets, plumbing lines, gas connections, and structural columns.
Action: Draw a simple floor plan on graph paper or use free digital tools. Mark every immovable feature, including heating vents and radiators.
Caution: Do not assume that walls are perfectly square or that outlet positions match builder drawings. Verify every measurement yourself to avoid cabinet fit issues later.
Fixed elements dictate where sinks, ranges, and refrigerators can go without expensive rerouting. Knowing these constraints early prevents you from falling in love with a layout that requires major structural work.
Step Two: Define Your Primary Work Zones
Professional designers organize kitchens around three core zones: cooking, cleaning, and storage. Efficient layouts minimize the distance you travel between these areas during meal preparation.
Action: Identify where you will place your cooktop, sink, and refrigerator. Imagine walking through a typical cooking session and notice how many steps each task requires.
Caution: Avoid placing the refrigerator directly next to the oven. Heat from cooking appliances can reduce refrigerator efficiency and increase energy costs over time.
Many successful kitchens use a triangle concept where the three main zones form a compact shape. However, modern open-plan designs and multi-cook households sometimes benefit from separate prep stations instead of a strict triangle. Choose the pattern that matches how your household actually cooks.
Step Three: Plan Cabinet and Countertop Layouts
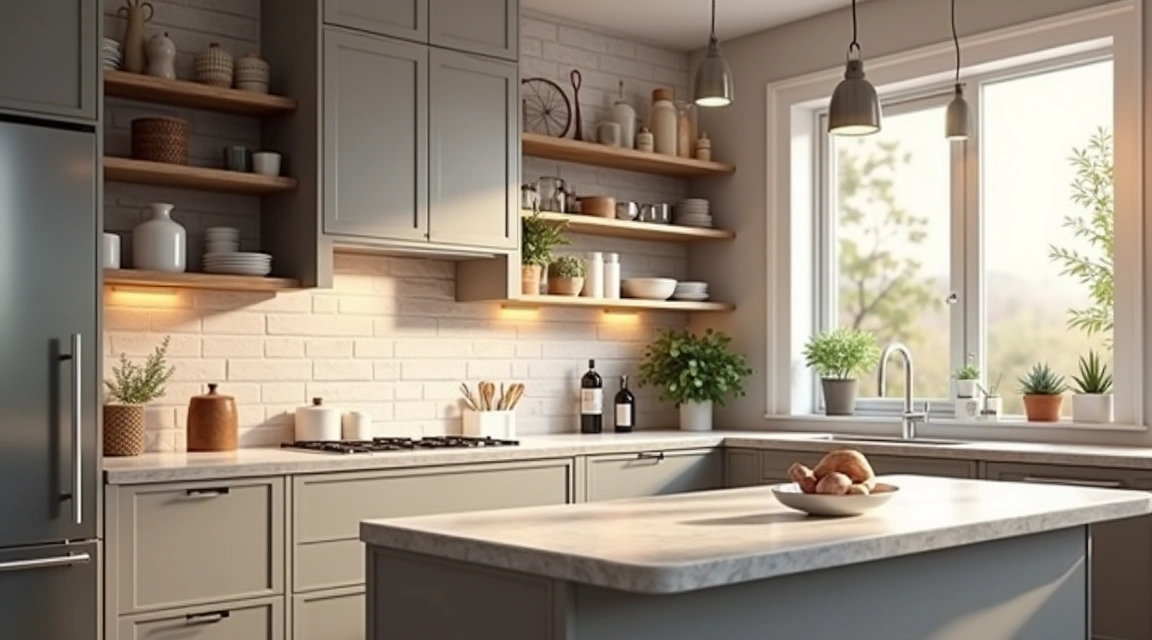
Cabinets provide storage and define your kitchen’s visual style. Before ordering, decide which items you need to store and how often you access them. Everyday dishes and utensils belong in easy-reach base cabinets or lower wall cabinets, while seasonal items can go higher or deeper.
Action: Sketch cabinet locations along each wall. Indicate base cabinets, wall cabinets, pantry units, and any open shelving. Allocate space for a trash bin, recycling, and cleaning supplies near the sink.
Caution: Do not forget clearance for cabinet doors and drawers. A beautiful design on paper fails when a drawer cannot open because it hits the refrigerator handle or a corner blocks a door swing.
Countertop material affects durability, maintenance, and budget. Granite, quartz, laminate, and butcher block each offer different trade-offs. Select a material that suits your cooking habits and willingness to perform routine care such as sealing or oiling.
Step Four: Address Lighting and Electrical Needs
Good lighting transforms kitchen functionality and safety. Plan three types: ambient overhead fixtures, task lights above work surfaces, and accent lights inside cabinets or above open shelves.
Action: Mark on your floor plan where you want pendant lights, under-cabinet strips, and recessed ceiling fixtures. Count the number of outlets you need for small appliances such as toasters, blenders, and stand mixers.
Caution: Do not rely on a single ceiling fixture. Shadows fall across countertops when you stand between the light and your cutting board, making prep work difficult and dangerous.
Local electrical requirements can vary, so consult a licensed electrician to confirm outlet placement and circuit capacity. Adding circuits during renovation is straightforward, but retrofitting them later often means cutting into finished walls.
Step Five: Consider Ventilation and Climate Control
Proper ventilation removes cooking smoke, steam, and odors. Range hoods or downdraft systems capture airborne grease before it settles on cabinets and walls. Ventilation type depends on your cooktop fuel, cooking frequency, and whether you can vent to the exterior.
Action: Choose between ducted hoods that exhaust outdoors and recirculating models that filter and return air. Measure the distance from your cooktop to the nearest exterior wall or roof.
Caution: Do not install a range hood too high above the cooktop. Capture efficiency drops when the hood sits too far from the heat source, allowing steam and grease to escape into the room.
If your kitchen connects to living areas, ventilation becomes even more important. Strong odors from frying or roasting can linger in adjacent spaces without adequate exhaust capacity.
Step Six: Review Traffic Flow and Door Clearances
A functional layout allows multiple people to move through the kitchen without colliding. Pathways between work zones and between the kitchen and dining or living areas should remain clear even when cabinet doors or appliance doors open.
Action: Walk through your planned layout mentally or physically if renovating an existing space. Open imaginary refrigerator doors, oven doors, and dishwasher doors. Check that each movement does not block another person’s path.
Caution: Do not place the dishwasher in a corner where the open door blocks access to the sink or another appliance. This mistake forces awkward choreography every time you load or unload dishes.
Consider how you carry groceries, trash bags, and serving dishes into and out of the kitchen. Wide openings and clear sightlines reduce accidents and make the space more welcoming for guests who want to chat while you cook.
For additional guidance on organizing your overall home design, visit our Interior Planning section for room-by-room tips and project checklists.
Common Mistakes to Avoid During Kitchen Layout Planning
Many homeowners rush into cabinetry and appliance purchases without finalizing measurements. Ordering before you verify plumbing and electrical locations leads to returns, restocking fees, and installation delays.
Another frequent error is neglecting the landing space beside appliances. Refrigerators need a nearby counter for setting down groceries. Ovens need a heat-safe surface for hot pans. Forgetting these small zones creates unsafe workflows and frustration during meal prep.
Underestimating storage needs is also common. People often allocate too much space to decorative features and too little to pantry shelves or deep drawers for pots and baking sheets. Make a realistic inventory of your cookware, small appliances, and dry goods before finalizing cabinet quantities.
Ignoring accessibility can make your kitchen difficult to use as mobility changes over time. If you plan to age in place, consider lower wall ovens, pull-out shelves, and lever-style faucet handles that require less grip strength.
Finally, many budgets fail to include contingency funds for unexpected issues. Old homes may hide outdated wiring, hidden water damage, or foundation settling that only appears once walls open. Setting aside a reserve prevents mid-project stress when surprises emerge.
Summary: Key Takeaways for Your Kitchen Layout Planning Checklist
Successful kitchen design starts with accurate measurements and a clear understanding of fixed structural elements. Organize your layout around primary work zones—cooking, cleaning, and storage—to minimize wasted motion during daily tasks.
Plan cabinet and countertop placement with attention to door swing, drawer clearance, and storage accessibility. Integrate lighting at multiple levels to eliminate shadows and improve safety. Choose ventilation appropriate for your cooking habits and verify that your system can exhaust outdoors if possible.
Review traffic flow to ensure smooth movement even when appliance doors open. Avoid common pitfalls such as ordering materials prematurely, skimping on landing space, underestimating storage, neglecting accessibility, and omitting a budget cushion for hidden problems.
A well-organized checklist keeps your project on track and helps you communicate clearly with contractors, designers, and suppliers. By following these six steps and heeding the cautions at each stage, you create a kitchen layout that supports your lifestyle and stands up to years of daily use.
Take time to review your plan from multiple angles, ask for feedback from household members who will use the space, and consult professionals when technical decisions exceed your expertise. Thoughtful planning today prevents regret and expensive corrections tomorrow.