
$
Introduction
A bathroom remodel ranks among the most valuable home improvements you can make, with the National Association of Realtors reporting that homeowners recoup an average of 60-70% of their investment. However, without proper planning, these projects can quickly spiral into budget overruns, timeline delays, and design regrets. Whether you’re updating a powder room or creating a spa-like master bath, a comprehensive planning checklist ensures your renovation stays on track from concept to completion.
This guide draws on industry best practices and real-world insights to help you navigate every stage of your bathroom remodel. From establishing realistic budgets to selecting materials that balance aesthetics with durability, we’ll walk through the essential steps that separate successful renovations from costly disasters.
Understanding Your Bathroom Remodel Scope and Budget
Before selecting a single tile or fixture, you need a crystal-clear understanding of your project scope and financial parameters. According to Remodeling Magazine’s 2024 Cost vs. Value Report, a midrange bathroom remodel averages $28,000 nationally, while upscale renovations can exceed $80,000.
Define Your Remodel Level
Bathroom renovations typically fall into three categories. A cosmetic refresh involves updating fixtures, paint, and accessories while keeping the existing layout—budget $5,000-$15,000 and 2-3 weeks. A standard remodel includes new fixtures, flooring, lighting, and possibly relocating some elements—expect $15,000-$35,000 and 4-6 weeks. A complete gut renovation means starting from the studs with all new plumbing, electrical, and structural changes—plan for $35,000-$100,000+ and 8-12 weeks.
Establish a Realistic Budget
Industry experts recommend allocating your budget according to the 40-20-15-15-10 rule: 40% for labor, 20% for fixtures and fittings, 15% for cabinetry and countertops, 15% for flooring and wall finishes, and 10% for contingency. That contingency fund isn’t optional—the National Kitchen & Bath Association reports that 78% of bathroom remodels encounter unexpected issues like water damage or outdated plumbing that must be addressed.
Create a detailed spreadsheet listing every expense category. Research actual costs in your area, as regional variations are significant. A standard vanity installation might cost $800 in rural areas but $2,500 in major metropolitan markets. Get at least three written quotes for major work, and never accept verbal estimates alone.
Design Planning and Material Selection
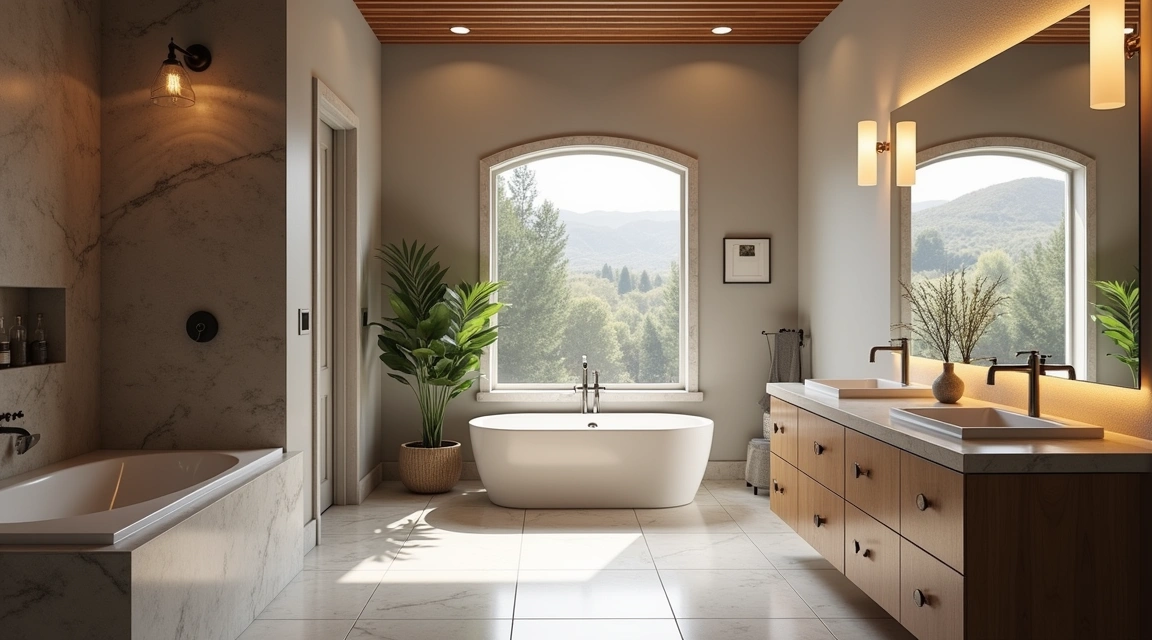
Your bathroom’s design should balance personal style with practical functionality. This phase requires careful consideration of both aesthetic preferences and long-term usability.
Layout and Space Optimization
Start by evaluating your current layout’s pain points. Measure everything precisely—the National Kitchen & Bath Association recommends minimum clearances of 30 inches in front of fixtures and 21 inches in front of toilets and sinks. If you’re considering layout changes, remember that moving plumbing is expensive; shifting a toilet location typically adds $1,500-$3,000 to your budget.
Create a detailed floor plan using graph paper or free digital tools like RoomSketcher or HomeByMe. Mark electrical outlets, switches, and plumbing locations. Consider the “work triangle” concept adapted from kitchen design—ensure efficient movement between the sink, toilet, and shower/tub.
Fixture and Finish Selection
Choose fixtures early in the planning process, as lead times for quality products can extend 8-12 weeks. Prioritize water efficiency; WaterSense-certified toilets use 20% less water than standard models and can save a family of four $90 annually on water bills, according to the EPA.
For finishes, bathroom designer Sarah Richardson advises selecting materials in this order: flooring first (as it anchors the design), then countertops, followed by wall tile, and finally paint colors. This progression ensures cohesive color coordination. Request large samples and view them in your actual bathroom lighting—colors shift dramatically under different light sources.
Durability matters intensely in bathrooms. Porcelain tile outperforms ceramic in moisture resistance, while quartz countertops offer superior stain resistance compared to marble. For flooring, avoid real hardwood regardless of claims; engineered products or porcelain wood-look tiles provide the aesthetic without warping risks.
Hiring Contractors and Managing the Project Timeline
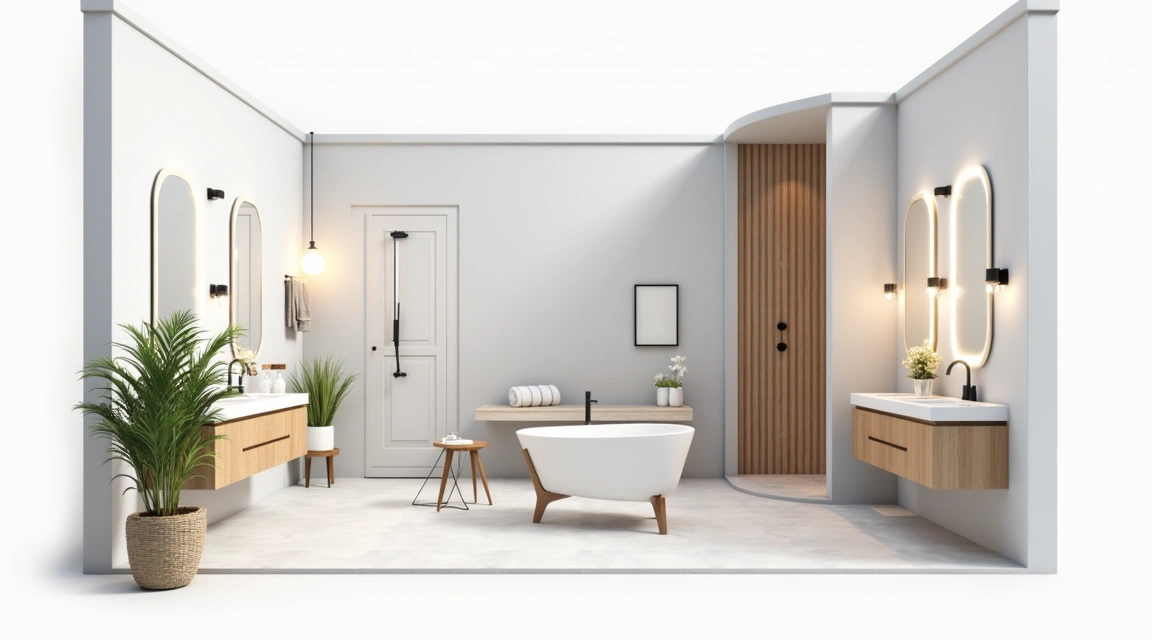
Selecting the right professionals and managing your renovation timeline effectively determines whether your project finishes on schedule or drags on for months.
Contractor Vetting and Selection
Never hire based solely on the lowest bid. Verify licenses and insurance—a qualified bathroom contractor should carry general liability insurance of at least $1 million and workers’ compensation for all employees. Check references from projects completed within the past year, and actually visit those completed bathrooms if possible.
The Better Business Bureau recommends getting detailed written contracts that specify exact materials (brands, models, colors), a payment schedule tied to completion milestones (never more than 30% upfront), and a detailed timeline with start and completion dates. Include a clause specifying daily cleanup requirements and dust containment measures.
Red flags include contractors who demand large cash deposits, lack physical business addresses, or pressure immediate decisions. The American Institute of Architects notes that contractors requesting 50% or more upfront payment have significantly higher abandonment rates.
Project Sequencing and Timeline Management
A typical bathroom remodel follows this sequence: demolition (1-2 days), rough plumbing and electrical (2-3 days), inspection (1 day), wall and floor substrate preparation (2-3 days), shower/tub installation (1-2 days), drywall (2-3 days), tile work (3-5 days), vanity and fixture installation (2-3 days), and final finishes including paint and trim (2-3 days).
Build in buffer time between phases. You cannot rush tile setting—grout requires proper curing time regardless of schedule pressure. Order materials before demolition begins; delayed shipments derail more projects than any other single factor. Create a dedicated staging area for materials, and inspect everything upon delivery. The National Association of Home Builders reports that 62% of product defects are discovered only after installation begins.
Establish a communication protocol with your contractor—weekly update meetings work well for most projects. Use project management apps like Houzz Pro or BuilderTrend to track progress, share photos, and maintain documentation.
Permits, Codes, and Pre-Construction Preparations
Legal requirements and practical preparations are equally essential to your planning process.
Permit and Code Compliance
Most bathroom remodels require permits, particularly when you’re adding square footage, moving plumbing, or upgrading electrical systems. Permit costs typically range from $200-$1,500 depending on project scope and location. Some homeowners skip permits to save money, but this creates serious problems: unpermitted work can void insurance coverage, create sale obstacles, and result in forced removal of completed work.
Your contractor should handle permit applications, but verify this is included in your contract. Code requirements vary by jurisdiction, but universal standards include GFCI outlets within six feet of water sources, proper ventilation (either windows or exhaust fans rated for your bathroom’s square footage), and specific drain slopes for shower pans.
Living Arrangements and Home Protection
For master bathroom remodels, plan alternative bathing arrangements. Some families rent small RVs for the project duration, while others negotiate gym memberships or impose on relatives. Budget $30-50 daily if you’ll need shower facilities elsewhere.
Establish a containment strategy to minimize dust spread. Professional remodelers use ZipWall barriers and negative air pressure systems, but at minimum, seal doorways with plastic sheeting and tape. Designate a contractor entry/exit route that avoids high-traffic areas, and require shoe covers or a boot-cleaning station.
Bathroom Remodel Planning Checklist Summary
| Planning Phase | Key Actions | Timeline | Budget Allocation |
|---|---|---|---|
| Initial Planning | Define scope, set budget, create wish list vs. must-have list | 2-4 weeks before | Allocate 10% for contingency |
| Design Development | Finalize layout, select materials, create detailed floor plan | 3-6 weeks before | 35% (fixtures, cabinets, finishes) |
| Contractor Selection | Get 3+ quotes, verify credentials, sign detailed contract | 4-8 weeks before | 40% (labor costs) |
| Pre-Construction | Order materials, obtain permits, arrange temporary facilities | 2-3 weeks before | 15% (materials, permits, prep) |
| Construction | Daily walkthroughs, maintain communication log, inspect deliveries | 4-8 weeks | Track against milestones |
| Final Inspection | Code compliance verification, punch list completion, final payment | Final week | Retain 10% until completion |
Conclusion
A successful bathroom remodel begins long before demolition day. By investing time in thorough planning—establishing realistic budgets, vetting contractors carefully, selecting durable materials, and understanding code requirements—you position your project for on-time, on-budget completion.
The checklist approach transforms an overwhelming renovation into manageable phases. Start with the big decisions: budget and scope. Move systematically through design selections, contractor hiring, and pre-construction preparations. Maintain detailed documentation throughout, from initial quotes to final inspections.
Remember that quality bathroom remodels deliver both immediate enjoyment and long-term value. According to Zillow’s 2024 research, bathrooms with recent updates sell 20% faster than comparable homes with dated bathrooms. Whether you’re creating your forever home or preparing for eventual sale, the planning investment pays dividends in reduced stress, avoided costly changes, and a finished space that exceeds expectations.
Your bathroom remodel checklist isn’t just a planning tool—it’s your roadmap to a renovation that enhances daily life while building home equity.