

A cluttered bathroom vanity can turn your morning routine into a frustrating scavenger hunt. Whether you’re dealing with a compact powder room or a spacious master bath, effective vanity storage transforms chaos into calm. This guide walks you through practical strategies to maximize every inch of your bathroom vanity while keeping your essentials organized and accessible.
Smart vanity storage isn’t just about buying more containers. It’s about understanding your space, identifying your actual needs, and creating systems that work with your daily habits. From drawer dividers to vertical solutions, these tips help you reclaim counter space and streamline your bathroom experience.
Step 1: Empty and Assess Your Current Vanity Space
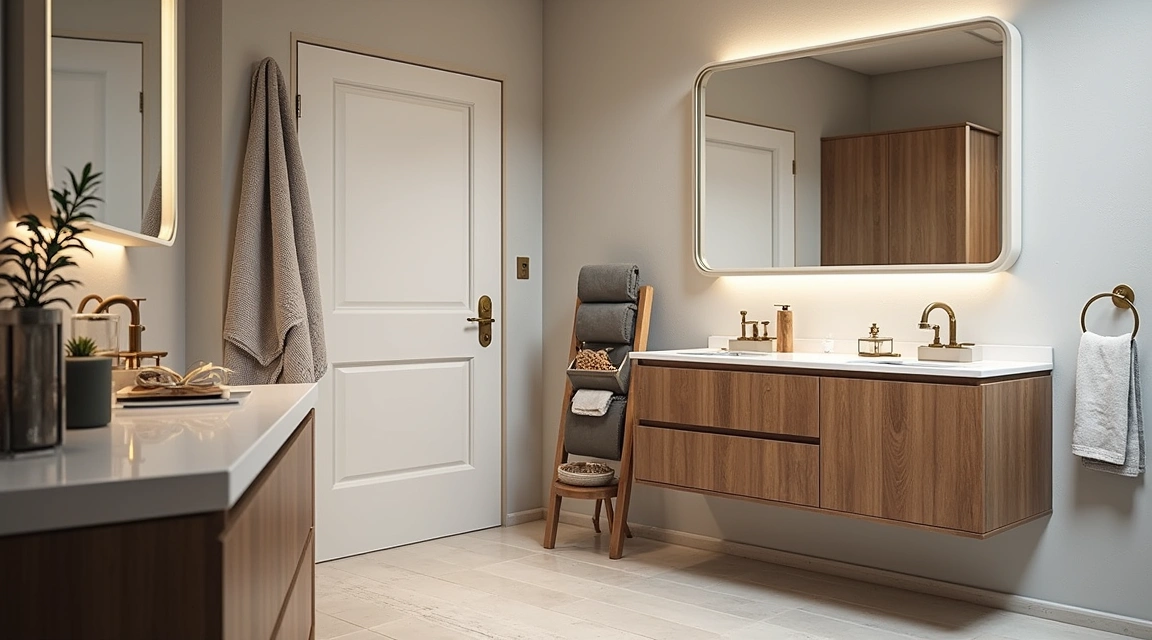
Begin by removing every item from your bathroom vanity, including drawers, cabinets, and countertops. Place everything on a clean surface where you can see what you own. This complete inventory reveals duplicates, expired products, and items you forgot you had.
While your vanity is empty, wipe down all surfaces, shelves, and drawer interiors. Check for water damage, loose hardware, or areas that need repair. Measure the interior dimensions of each drawer and cabinet compartment with a tape measure. Write down these measurements—you’ll need them when shopping for organizers.
Caution: Bathroom products can harbor bacteria and mold, especially if they’ve been stored in damp conditions. Discard any items with unusual odors, discoloration, or visible growth, even if they’re not technically expired.
Step 2: Sort and Declutter Your Bathroom Items

Create four categories: keep, donate, trash, and relocate. Be honest about what you actually use. If you haven’t touched that face mask in six months, it probably doesn’t deserve prime vanity real estate.
Check expiration dates on all products. Most skincare products last 12-24 months after opening, while makeup has shorter lifespans—mascara expires after three months, foundation after 12 months. Look for a small jar symbol with a number on product packaging; this indicates months of use after opening.
Group similar items together: hair care products, skincare, makeup, dental care, first aid, and cleaning supplies. This sorting process shows you exactly how much storage you need for each category and helps you spot duplicates.
Caution: Expired skincare and makeup can cause skin irritation, breakouts, or infections. When in doubt, throw it out. The cost of replacing a product is less than treating a skin reaction.
Step 3: Plan Zones Based on Daily Routines

Assign specific zones in your vanity based on how frequently you use items. The most accessible spots—top drawers and eye-level shelves—should hold daily essentials like toothbrush, face wash, and moisturizer.
Middle drawers work well for items used several times weekly, such as styling tools, special treatments, or shaving supplies. Reserve lower cabinets and back corners for backup supplies, seasonal products, or items used monthly.
If multiple people share the vanity, designate separate zones for each person. Use drawer dividers or labeled containers to create clear boundaries. This prevents the “creeping clutter” phenomenon where one person’s products gradually overtake shared space.
Caution: Don’t store medications in bathroom vanities if you can avoid it. Heat and humidity from showers degrade many medications faster than cool, dry locations. A bedroom drawer or kitchen cabinet away from the stove works better.
Step 4: Install Drawer Dividers and Organizers

Invest in adjustable drawer dividers that fit your specific measurements. Expandable bamboo or acrylic organizers work well because you can customize them as your needs change. Create compartments for different product types rather than tossing everything into one large drawer.
For makeup storage, use shallow trays with small compartments. Stand lipsticks and lip glosses upright in a small cup or compartment so you can see all shades at once. Store eyeshadow palettes vertically like books rather than stacking them flat—this makes selection easier and prevents scratches.
In deeper drawers, use stackable bins or tiered organizers. Place less-frequently used items in bottom tiers and everyday essentials on top. Clear acrylic organizers help you see contents without opening containers, saving time during busy mornings.
Caution: Avoid over-organizing with too many tiny compartments. Extremely specific organizers become frustrating when your product collection changes. Choose flexible systems that adapt to different bottle sizes and product types.
Step 5: Maximize Under-Sink Cabinet Storage
Under-sink cabinets present unique challenges because of plumbing pipes, but they offer valuable storage potential. Install a two-tier sliding organizer that works around pipes, or use stackable drawers that fit on either side of the plumbing.
Mount tension rods vertically between the cabinet floor and ceiling to hang spray bottles by their triggers. This simple trick keeps cleaning supplies organized and frees up floor space for bins or baskets. Use the inside of cabinet doors by mounting adhesive hooks for hair tools or small hanging organizers for brushes.
Group items in labeled bins or baskets: one for hair care, one for cleaning supplies, one for backup toiletries. Pull-out bins make accessing items in the back much easier than reaching blindly into dark corners. Choose bins with handles for easy removal during cleaning.
Caution: Check under-sink cabinets regularly for leaks, especially if you store paper products or electronics like hair dryers. Water damage happens quickly in enclosed spaces, and a small leak can ruin expensive items before you notice the problem.
Step 6: Optimize Countertop and Vertical Space
Keep bathroom counters as clear as possible—aim for no more than three to five items on display. Use a small tray or decorative dish to corral daily essentials like hand soap, lotion, and one frequently-used product. This creates visual calm while keeping necessities accessible.
Install floating shelves above the toilet or beside the vanity mirror for additional storage. These shelves work perfectly for rolled towels, decorative baskets holding backup supplies, or attractive containers with cotton balls and swabs. Choose shallow shelves (6-8 inches deep) to prevent them from overwhelming small bathrooms.
Use vertical space inside cabinets by adding shelf risers or small stacking shelves. These create multiple levels in tall cabinets, preventing the “pile everything high” problem. Hanging organizers on the back of cabinet doors add storage without taking up shelf space.
Caution: Avoid storing electronic tools like hair dryers or curling irons on countertops where they can easily fall into sinks or get splashed with water. Instead, mount a holder on the inside of a cabinet door or dedicate a specific drawer with a heat-resistant mat.
Common Bathroom Vanity Storage Mistakes to Avoid
Many people buy storage containers before measuring their space, resulting in organizers that don’t fit properly. Always measure first, then shop. Take your measurements on your phone or a small card you can reference while browsing stores.
Another frequent error is storing too many backup products. While having one backup of essential items makes sense, hoarding six bottles of shampoo because they were on sale wastes valuable space. Limit backups to one per essential product, and store extras in a linen closet or garage if you buy in bulk.
Ignoring daily habits creates storage systems that fail quickly. If you always do your makeup standing at the sink, don’t organize all your cosmetics in drawers that require bending down. Match your storage plan to your actual behavior rather than an idealized routine you wish you followed.
Forgetting about cleaning access is problematic. Storage systems shouldn’t make it difficult to wipe down shelves, clean behind products, or access plumbing for repairs. Leave some breathing room and choose organizers you can easily lift out for thorough cleaning.
Maintaining Your Organized Bathroom Vanity
Set a recurring reminder every three months to reassess your vanity organization. Remove expired products, wipe down containers, and reorganize items that have drifted from their designated zones. This 15-minute maintenance session prevents clutter from building up again.
Implement a “one in, one out” rule for products. When you buy a new face cream, finish or discard an old one before adding the new product to your collection. This simple practice prevents product accumulation and keeps your vanity from becoming overcrowded.
Take a photo of your beautifully organized vanity right after you finish setting it up. Keep this picture on your phone as a reference point. When things start looking messy, compare the current state to your photo to quickly identify what needs attention.
An organized bathroom vanity saves time every single day. Instead of digging through cluttered drawers or knocking over bottles searching for your toothpaste, everything has a logical home. The few hours you invest in proper vanity storage pay dividends in reduced morning stress and a more peaceful bathroom environment. Start with one drawer today, and you’ll quickly see why systematic bathroom storage makes such a meaningful difference in daily life.