
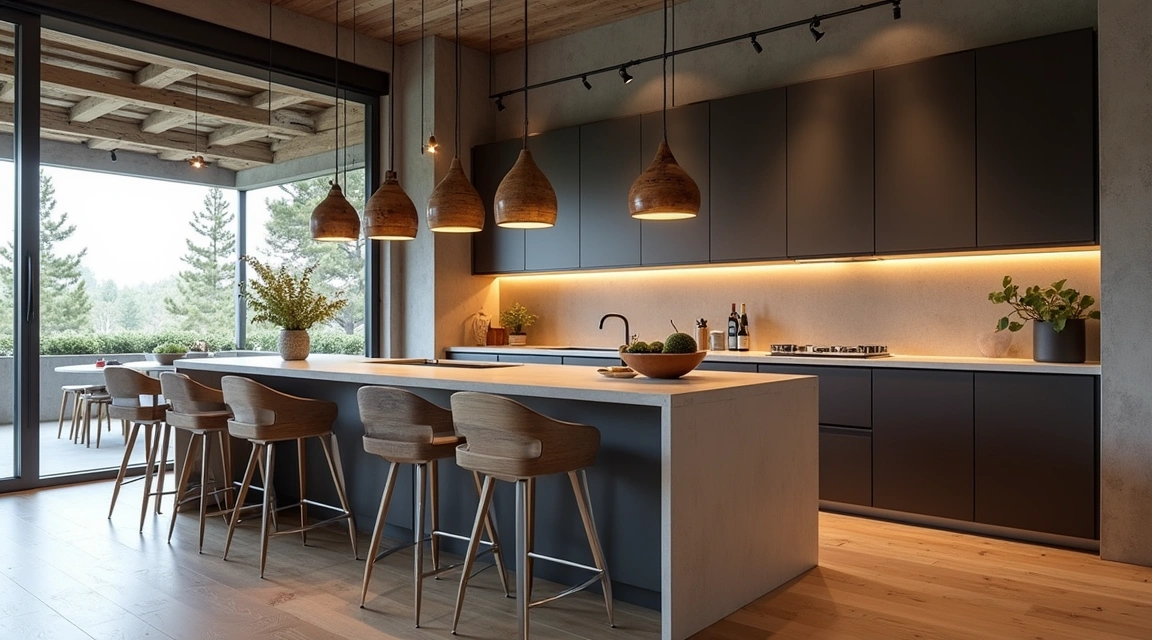
A kitchen island can transform your cooking space from ordinary to extraordinary, providing extra counter space, storage, and a natural gathering spot for family and friends. But choosing the right layout requires careful planning. This guide walks you through proven kitchen island layout ideas that work in real homes, helping you create a functional and beautiful centerpiece for your kitchen.
Before you commit to any design, understanding the fundamentals of island placement, size, and workflow will save you from costly mistakes and years of frustration. Let’s explore the layouts that professional designers rely on to deliver stunning, practical results.
Understanding the Work Triangle and Island Placement
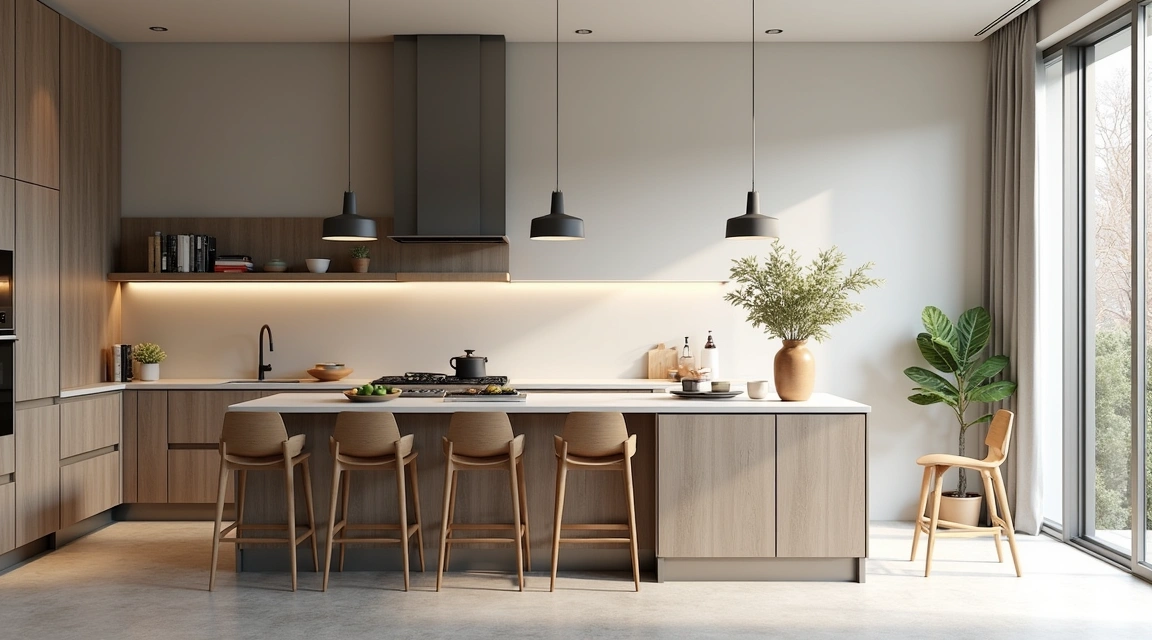
The classic kitchen work triangle connects your sink, stove, and refrigerator. Your island should complement this triangle, not obstruct it. Position your island so that the total distance between these three points measures between 13 and 26 feet, with no single leg exceeding 9 feet.
Maintain at least 42 inches of clearance on all sides of your island for comfortable movement. If multiple cooks use the kitchen simultaneously, increase this to 48 inches. This spacing allows cabinet doors and appliances to open fully without collision.
Caution: Islands placed too close to perimeter cabinets create bottlenecks that make cooking frustrating and unsafe, especially when carrying hot pots or sharp knives.
For a single-cook kitchen measuring 10 by 10 feet, a compact island of 2 by 4 feet works well. Larger kitchens measuring 15 by 15 feet can accommodate islands up to 4 by 8 feet. Always draw your floor plan to scale before purchasing anything.
The L-Shaped Island Layout
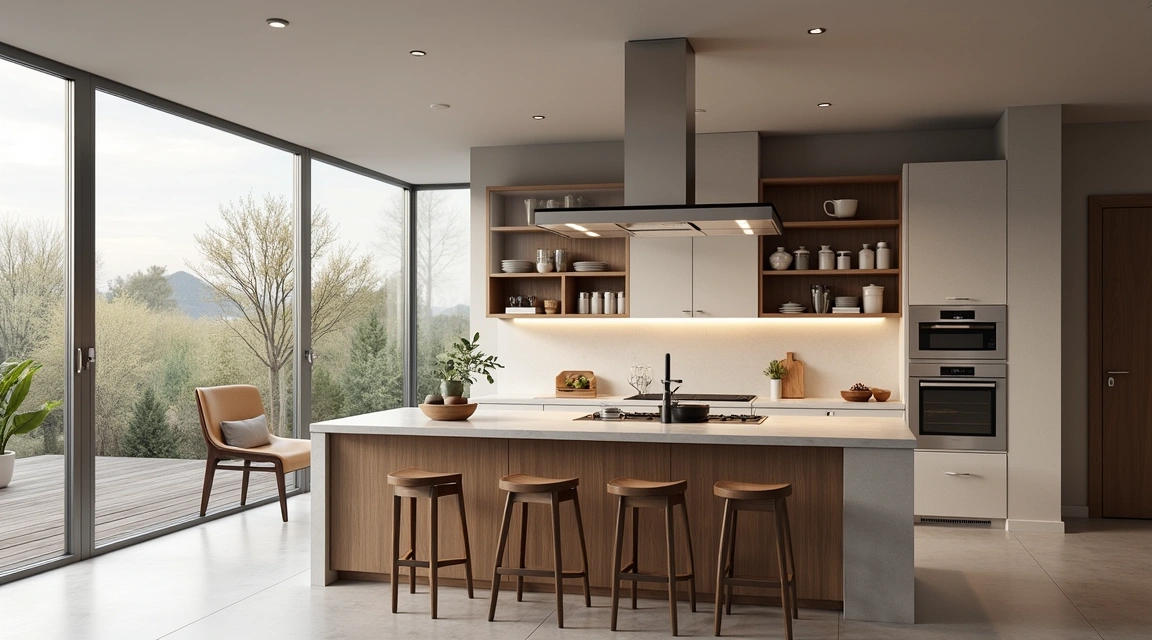
The L-shaped island creates two distinct work zones within one structure. This layout works beautifully in open-concept homes where the kitchen flows into the dining or living area.
Position the longer leg of the L parallel to your main counter run, typically 6 to 8 feet long. The shorter perpendicular section, usually 3 to 4 feet, extends toward the living space and serves as a casual dining bar or homework station.
This configuration naturally separates cooking tasks from socializing. Place your cooktop or prep sink on the kitchen-facing side, and add bar stools on the room-facing side for guests or children. The L-shape also hides kitchen clutter from sight when you’re entertaining.
Caution: Sharp corners on L-shaped islands pose injury risks, especially for young children. Request rounded or beveled corners from your fabricator.
Install pendant lights above the dining section at 30 to 36 inches above the counter surface. This height provides adequate lighting without blocking conversation or sightlines across the room.
The Galley Island for Narrow Kitchens
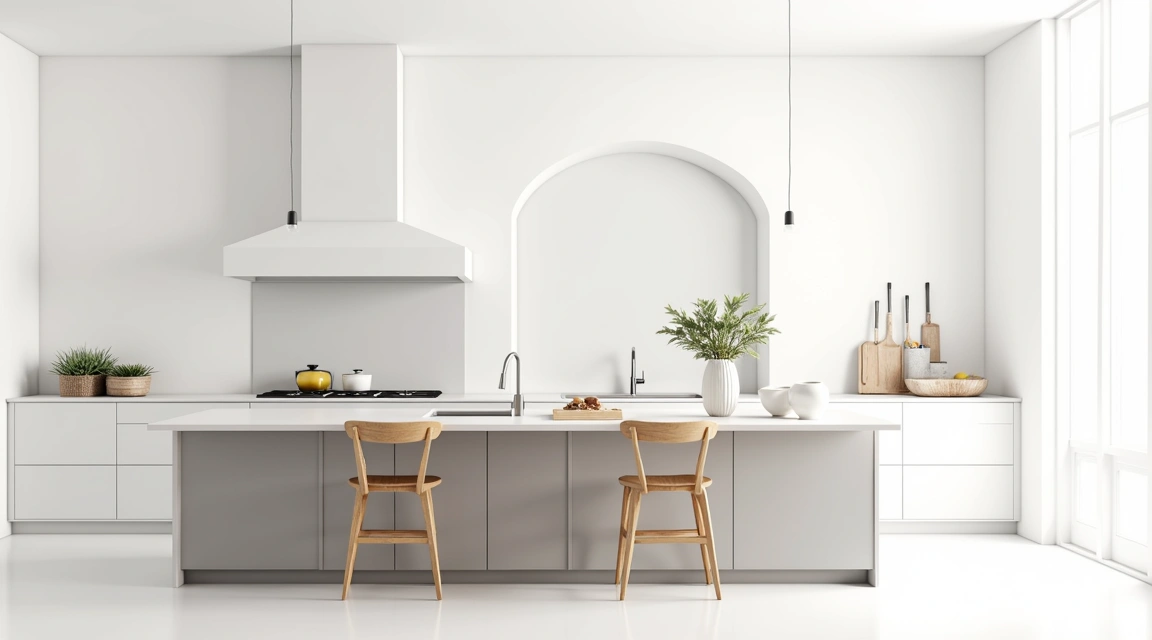
Narrow kitchens between 8 and 12 feet wide benefit from a slim galley-style island. This layout features a long, narrow island running parallel to your main counter, creating an efficient corridor on each side.
Keep your galley island no wider than 2 to 3 feet to maintain those critical 42-inch walkways. A length of 5 to 7 feet provides useful workspace without overwhelming the room. This compact footprint works especially well in urban apartments and older homes.
Use the island for food prep, installing a butcher block or marble surface for rolling dough. Add shallow drawers underneath for utensils and linens rather than deep cabinets that would make the island feel bulky.
Caution: Resist the temptation to add seating to a galley island in truly narrow kitchens, as stools reduce walkway clearance and create obstacles during meal preparation.
Consider placing your microwave or beverage refrigerator at one end of the galley island. This creates a convenient “snack station” that keeps family members out of the main cooking zone.
The T-Shaped Island with Integrated Dining
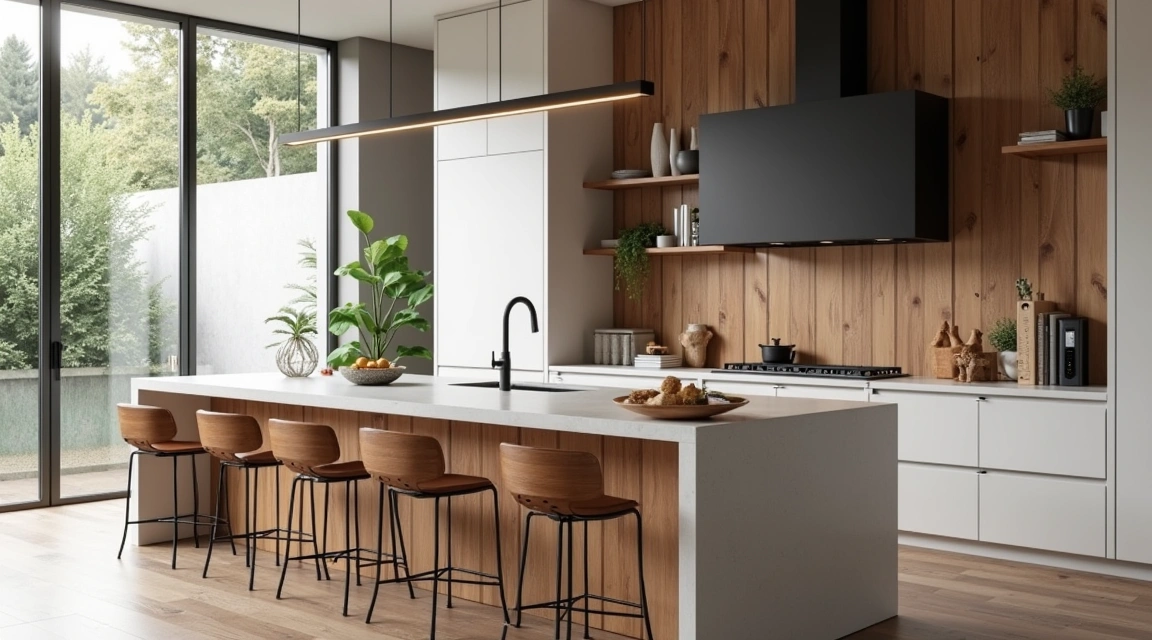
The T-shaped island attaches a perpendicular dining extension to a standard rectangular island. This layout maximizes seating without expanding the island’s overall footprint in the kitchen workspace.
Design the main stem of the T at standard counter height, 36 inches, for food preparation. Extend the top of the T at bar height, 42 inches, creating a two-level island that clearly defines work and dining zones.
The raised section overhangs the base by 12 to 15 inches on the dining side, providing comfortable knee room for four to six diners depending on length. This overhang requires specialized support brackets rated for the countertop material you select.
Caution: Two-level islands require additional structural support and more complex electrical planning for outlets on both levels, increasing your installation budget by 15 to 25 percent.
Install outlets on the cooking side of the island, keeping them away from the dining area where spills are more likely. Code requires at least one outlet on islands longer than 24 inches, with outlets spaced no more than 48 inches apart.
The Double Island Layout for Large Kitchens
Kitchens measuring 18 by 20 feet or larger can accommodate two islands, creating separate zones for different activities. This layout has gained popularity among serious home cooks and families who need distinct prep, cooking, and gathering spaces.
Position the primary island between your range and sink, dedicating it to active cooking tasks. Place the secondary island near your refrigerator as a prep and serving station. Maintain at least 4 feet of clearance between the two islands to prevent crowding.
The primary island typically houses your cooktop or second sink, while the secondary island remains clear for assembling ingredients, plating dishes, or setting up buffet-style service during parties.
Caution: Double islands require significant infrastructure investment, including multiple electrical circuits, additional ventilation for cooktops, and complex plumbing runs that may exceed your initial budget projections.
Use contrasting materials to visually distinguish the two islands. For example, pair a white primary island with a navy blue prep island, or combine butcher block on one with marble on the other. This variation adds visual interest while reinforcing each island’s distinct purpose.
The Peninsula Alternative to a Freestanding Island
Not all kitchens have sufficient space for a freestanding island. A peninsula extends from your existing cabinetry, providing similar benefits without requiring clearance on all sides. This layout needs only 36 to 42 inches of clearance on three sides instead of four.
Attach the peninsula perpendicular to your main counter run, creating a natural division between kitchen and dining areas. This configuration works perfectly in kitchens measuring 10 by 12 feet or smaller where a freestanding island would feel cramped.
Design the peninsula at standard depth, 24 inches on the cabinet side, with a 12-inch overhang on the seating side for a total depth of 36 inches. This proportion provides functional workspace while accommodating bar stools comfortably.
Caution: Peninsulas create a single entry point into the kitchen workspace, which can feel confining during busy meal preparation if multiple people need access simultaneously.
Add open shelving or glass-front cabinets on the room-facing side of the peninsula to keep the space feeling open. Closed cabinetry on both sides can make the peninsula feel like a wall, defeating its purpose as a visual divider rather than a barrier.
The Mobile Island for Flexible Spaces
Mobile islands on locking casters offer flexibility that built-in options cannot match. This layout suits renters, frequent remodelers, and homeowners who want to reconfigure their space for different activities.
Choose a mobile island measuring 24 by 36 inches or smaller for easy movement. Larger units become difficult to maneuver even with quality casters. Look for models with sturdy construction, preferably solid wood or metal, that can withstand regular repositioning.
Position the mobile island in your primary work zone during meal preparation, then roll it against a wall or into an adjacent room when you need maximum floor space for entertaining or children’s activities.
Caution: Mobile islands cannot include plumbing or hardwired electrical connections, limiting their functionality compared to permanent installations.
Select locking casters rated for at least twice the combined weight of the island and everything you plan to store on it. Test the locks on multiple surfaces in the showroom, as some designs work poorly on tile or textured flooring.
Common Kitchen Island Layout Mistakes to Avoid
Many homeowners choose island sizes based on what looks good in showrooms rather than what works in their specific kitchen dimensions. Always measure your space carefully and create a full-scale mockup using cardboard boxes before ordering cabinetry.
Overlooking electrical requirements creates problems later. Plan outlet locations during the design phase, not during installation. Your electrician needs to know outlet positions before pouring concrete or closing walls.
Ignoring lighting creates dim work surfaces and shadows. Install dedicated task lighting above your island, separate from ambient ceiling fixtures. Pendant lights should hang 30 to 36 inches above the counter, adjusted for ceiling height and personal preference.
Sacrificing storage for seating reduces your island’s utility. If your island includes seating, ensure you still have adequate drawer and cabinet space. A typical 4-foot island section with seating eliminates roughly 8 cubic feet of storage compared to full cabinetry.
Choosing inappropriate materials for your lifestyle leads to maintenance headaches. Marble stains easily in active kitchens. Light-colored grout near cooktops shows splatter. Butcher block requires regular oiling. Match your materials to your actual cooking habits and cleaning tolerance.
Bringing Your Island Layout Vision to Life
The right kitchen island layout balances your available space, cooking style, and household needs. Start by measuring your kitchen carefully and considering how you actually use the space rather than copying magazine photos.
Visit showrooms to test counter heights and overhang depths in person. Sit on stools, mime chopping vegetables, and walk around display islands to understand what dimensions feel comfortable for your height and reach.
Work with a kitchen designer or contractor who can create scaled drawings showing your island in context with existing appliances and traffic patterns. This planning investment pays dividends by preventing expensive mistakes and ensuring your island enhances rather than hinders your daily routine.
Your kitchen island should serve you reliably for decades. Taking time to select the optimal layout transforms this significant investment into the hardworking, beautiful centerpiece your kitchen deserves.