
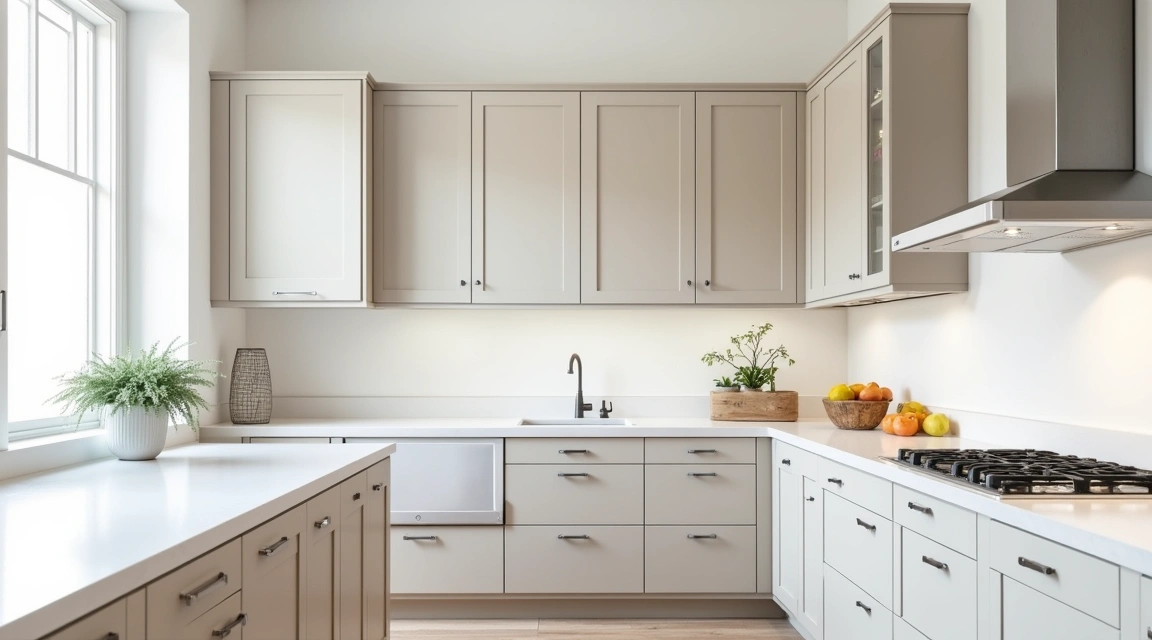
Kitchen cabinet refacing offers a smart middle ground between living with outdated cabinets and tearing out your entire kitchen. This process updates the visible surfaces of your existing cabinets—doors, drawer fronts, and hardware—while keeping the sturdy cabinet boxes intact. You can achieve a stunning transformation for roughly 30-50% less than full replacement, making it an attractive option for homeowners seeking maximum impact with controlled spending.
Whether your oak cabinets feel stuck in the 1990s or your worn laminate surfaces need refreshing, cabinet refacing provides numerous creative possibilities. This guide walks you through proven ideas, practical steps, and helpful cautions to ensure your project succeeds.
Understanding Cabinet Refacing Basics
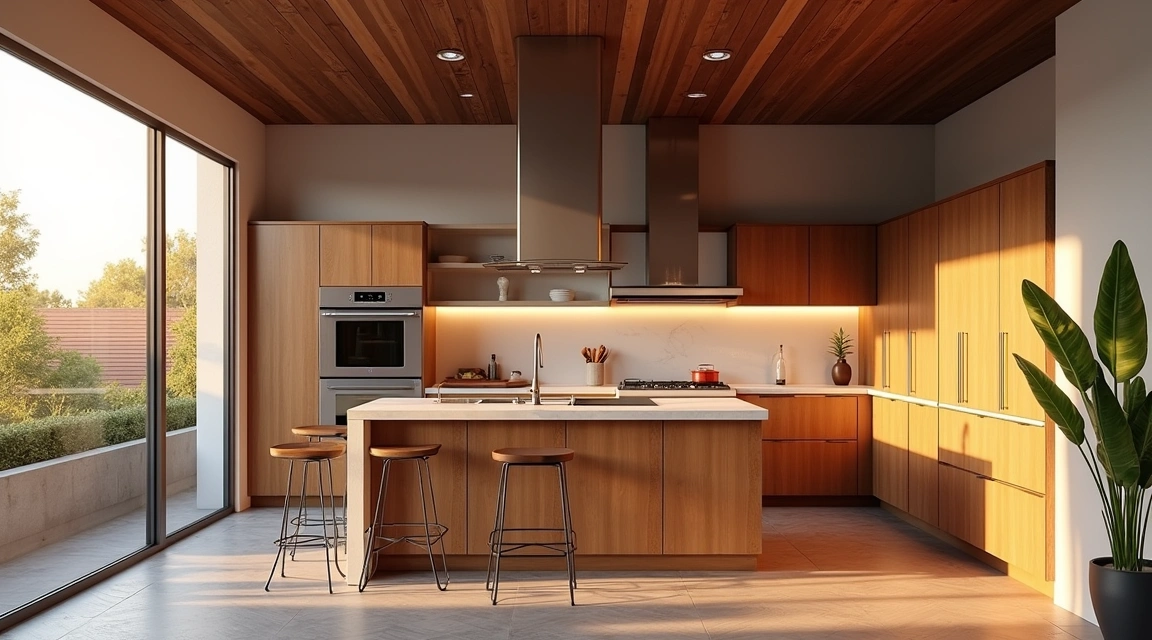
Cabinet refacing involves several distinct approaches, and choosing the right method determines your final results. The main options include replacing doors and drawer fronts entirely, applying new veneer over existing surfaces, or refinishing through painting or staining. Each approach works best in specific situations.
Step 1: Assess your current cabinet structure. Open cabinet doors and examine the box frames. Look for water damage, sagging shelves, or deteriorating particle board. Press firmly on corners to check stability. If the boxes feel solid without soft spots or separation, you’re an excellent candidate for refacing.
Caution: If you find structural damage, mold, or extensive water staining inside the cabinet boxes, refacing won’t solve these underlying problems. Address structural issues first or consider full replacement instead.
Step 2: Measure your cabinet dimensions accurately. Using a tape measure, record the height and width of every door and drawer front. Note which cabinets have hinges on the left versus right. Sketch a simple kitchen layout showing cabinet locations. Keep measurements in a dedicated notebook.
Caution: Even cabinets that look identical often vary by a quarter-inch or more. Measure each piece individually rather than assuming they match—ordering wrong sizes creates expensive delays.
Popular Refacing Ideas and Color Choices
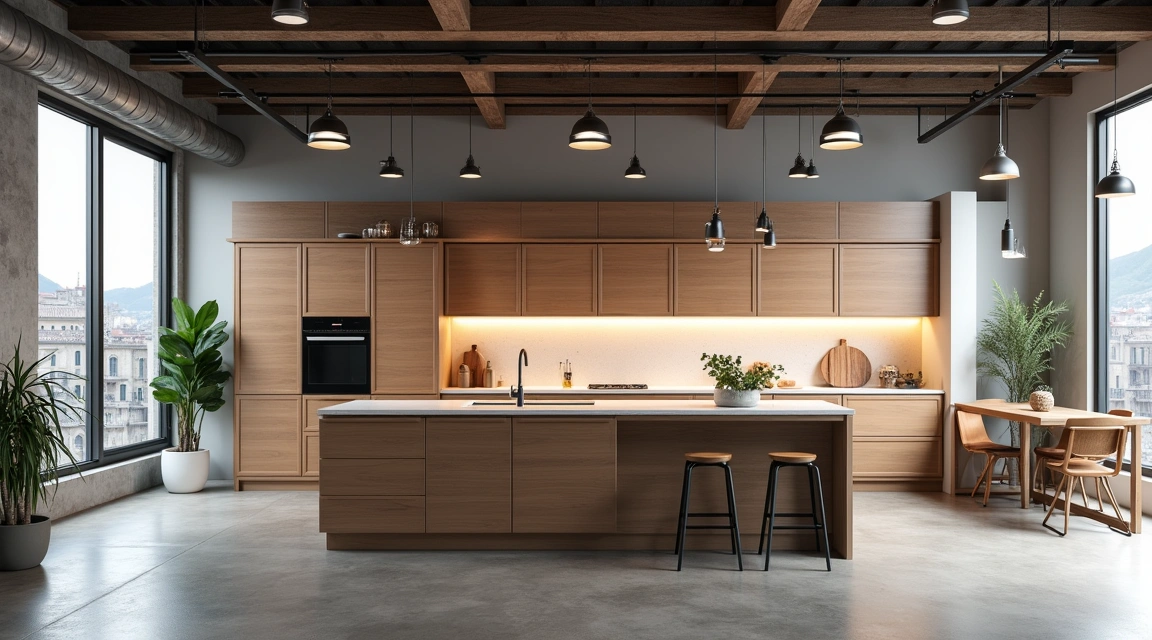
The colors and finishes you select dramatically influence your kitchen’s final personality. Current trends favor both bold statements and timeless neutrals, giving you flexibility to match your home’s overall style.
Two-Tone Cabinet Combinations
Step 3: Choose a two-tone color scheme strategically. Select a darker shade for lower cabinets (navy, charcoal, forest green) and a lighter tone for uppers (white, cream, soft gray). This creates visual interest while preventing dark colors from overwhelming the space. Paint or order new door fronts in your chosen colors.
Caution: Extreme color contrasts can feel jarring in small kitchens. Test your combination using large poster boards held against existing cabinets for several days before committing.
Two-tone designs work especially well in open-concept homes where the kitchen flows into living areas. The variation adds architectural interest without requiring structural changes. Popular combinations include white uppers with sage green lowers, or cream uppers with deep blue bases.
Modern Paint Finishes for Oak Cabinets
Oak cabinets dominated kitchens from the 1980s through early 2000s, and many homeowners now want to update their prominent grain patterns. Painting oak requires proper preparation but delivers remarkable transformations.
Step 4: Prepare oak surfaces for paint adhesion. Clean all surfaces with a degreasing cleaner like TSP substitute. Sand lightly with 220-grit sandpaper to dull the existing finish and smooth grain ridges. Wipe away all dust with a tack cloth. Apply a stain-blocking primer specifically designed for oak to prevent tannin bleed-through.
Caution: Skipping primer on oak almost guarantees that orange or yellow stains will seep through your paint within weeks. Always use a bonding primer rated for blocking wood tannins.
For paint colors, crisp white remains the most popular choice for brightening oak kitchens. However, soft greiges (gray-beige hybrids), warm creams, and even sophisticated charcoals work beautifully when coordinated with countertops and backsplashes.
Natural Wood Stain Refreshes
If you appreciate wood grain but want updated tones, restaining offers another refacing path. This approach works best when existing cabinet boxes are solid wood rather than laminate or thermofoil.
Step 5: Strip and restain wood cabinets properly. Remove doors and drawer fronts completely. Apply chemical stripper following manufacturer directions in a well-ventilated space. Scrape away old finish once it bubbles. Sand thoroughly with progressively finer grits (80, 120, 220). Apply wood conditioner on soft woods like pine. Brush on your chosen stain, wipe excess after recommended time, and finish with protective topcoat.
Caution: Chemical strippers contain harsh ingredients requiring safety glasses, chemical-resistant gloves, and excellent ventilation. Never work with strippers in enclosed spaces or around open flames.
Contemporary stain trends favor gray-toned woods, weathered driftwood finishes, and rich walnut shades over traditional orange-toned oak or cherry.
Hardware and Accessory Upgrades
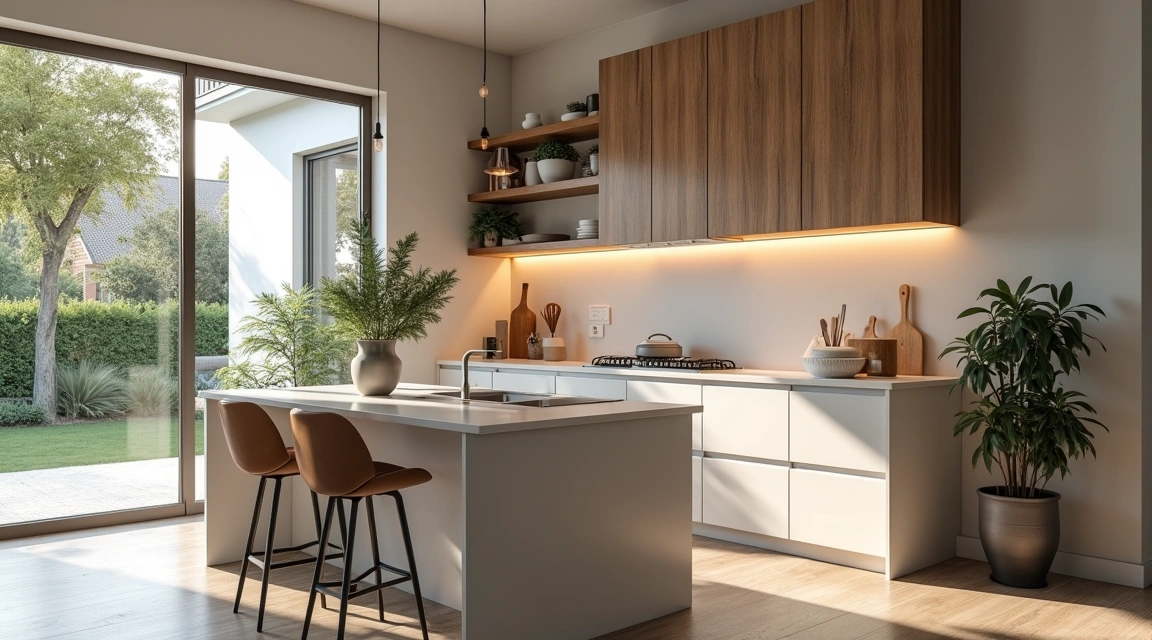
New hardware provides the easiest cabinet refresh, often called “kitchen jewelry” for good reason. Handles and knobs make surprising visual impact relative to their modest cost.
Step 6: Replace cabinet hardware thoughtfully. Remove one existing knob or pull and bring it to the hardware store to match hole spacing (called “center-to-center measurement”). Choose new hardware that fits existing holes when possible to avoid drilling. If switching styles requires new holes, fill old ones with color-matched wood filler, let dry, and sand smooth before drilling new positions.
Caution: Drilling through cabinet fronts without backing support often causes splintering on the back side. Always place scrap wood behind your drilling point to ensure clean holes.
Popular hardware styles include matte black bar pulls for contemporary looks, brushed brass for transitional kitchens, and polished nickel for classic elegance. Mixing knobs on doors with pulls on drawers creates professional-looking variation.
Glass Inserts and Open Shelving
Replacing some solid doors with glass-front versions opens sight lines and displays attractive dishware. Alternatively, removing a few upper cabinet doors entirely creates trendy open shelving.
When selecting glass inserts, consider seeded glass for vintage charm, clear glass for traditional display, or frosted glass when cabinet interiors aren’t camera-ready. Most cabinet door manufacturers offer glass insert options when ordering replacement doors.
Common Mistakes to Avoid
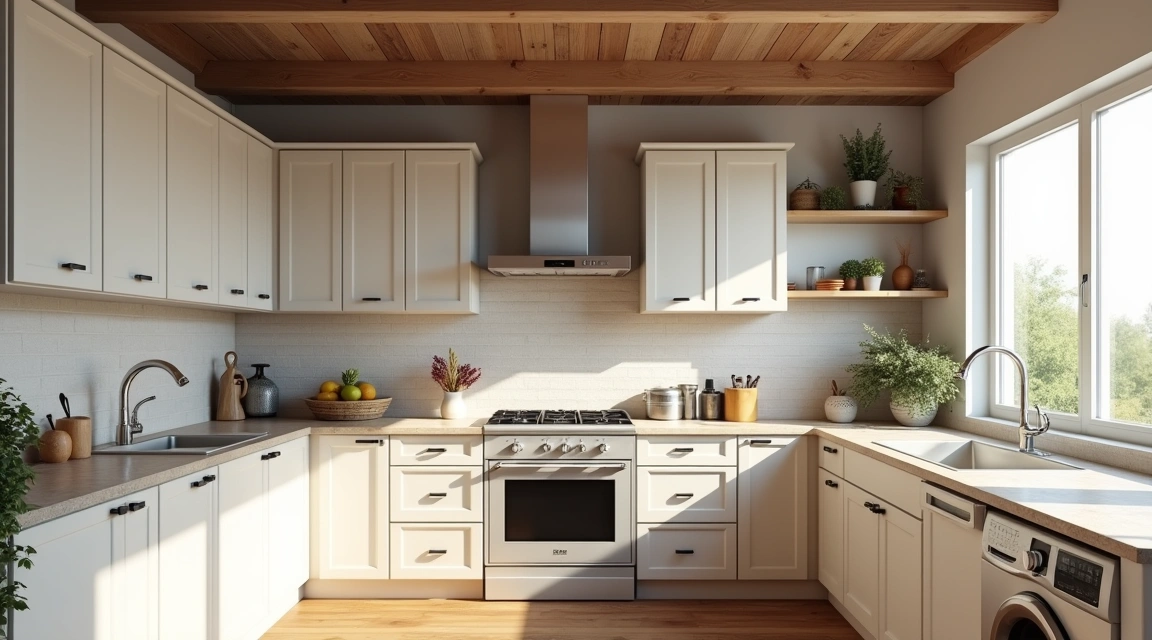
Even experienced DIYers encounter pitfalls during cabinet refacing. Learning from others’ errors saves frustration and money.
Mismatched door styles: Ordering shaker doors when your kitchen features raised-panel styling creates obvious inconsistency. Match your new doors to the existing architectural style of your home unless you’re replacing all doors simultaneously.
Ignoring cabinet box exteriors: Many people focus entirely on doors while neglecting visible cabinet sides, toe kicks, and face frames. These areas need veneer, paint, or refinishing to match new door fronts. Leaving them in old finishes undermines your entire effort.
Poor paint preparation: Rushing through cleaning and sanding produces paint that chips within months. Professional results require thorough deglossing, priming, and applying multiple thin coats rather than one thick layer.
Inadequate drying time: Reinstalling doors before paint fully cures leads to sticking, marking, and finish damage. Most paints need 24-48 hours to dry and up to 30 days to fully harden. Wait at least one week before closing painted doors completely.
Overlooking lighting: Dark cabinet colors absorb light, potentially making kitchens feel dim. Plan to add under-cabinet lighting or increase overall illumination when choosing deep cabinet shades.
Professional vs. DIY Refacing
Cabinet refacing falls into a middle complexity zone—more involved than painting walls but simpler than full kitchen remodeling. Your skill level, available time, and budget determine whether professional help makes sense.
DIY refacing typically costs $1,500-$4,000 for an average kitchen when you’re painting or applying veneer to existing doors. Hiring professionals ranges from $4,000-$9,000 but includes expert measurement, material ordering, and warranty coverage. Professional work typically finishes in days rather than weeks.
Consider professional assistance if you’re ordering custom replacement doors, installing complex veneer patterns, or lack confidence in achieving smooth painted finishes. DIY works well for straightforward painting projects, hardware swaps, and simple door replacements in standard sizes.
Final Thoughts
Cabinet refacing delivers dramatic kitchen updates without the disruption, cost, and waste of complete replacement. By following methodical steps—assessing structure, choosing appropriate colors, preparing surfaces properly, and avoiding common mistakes—you can achieve professional-looking results that serve your kitchen for years.
Start with the smallest project that addresses your biggest visual complaint. Perhaps that’s simply replacing brass hardware with modern black pulls. Maybe it’s painting just the island cabinets a contrasting color while leaving perimeter cabinets unchanged. These incremental improvements build confidence and let you test finishes before committing to whole-kitchen transformations.
Remember that successful refacing depends more on careful preparation than expensive materials. A budget-friendly paint job with thorough cleaning, proper priming, and patient application outperforms premium paint slapped onto greasy, poorly-prepped surfaces. Take your time, follow each step completely, and your refreshed cabinets will reward you with years of renewed kitchen enjoyment.