
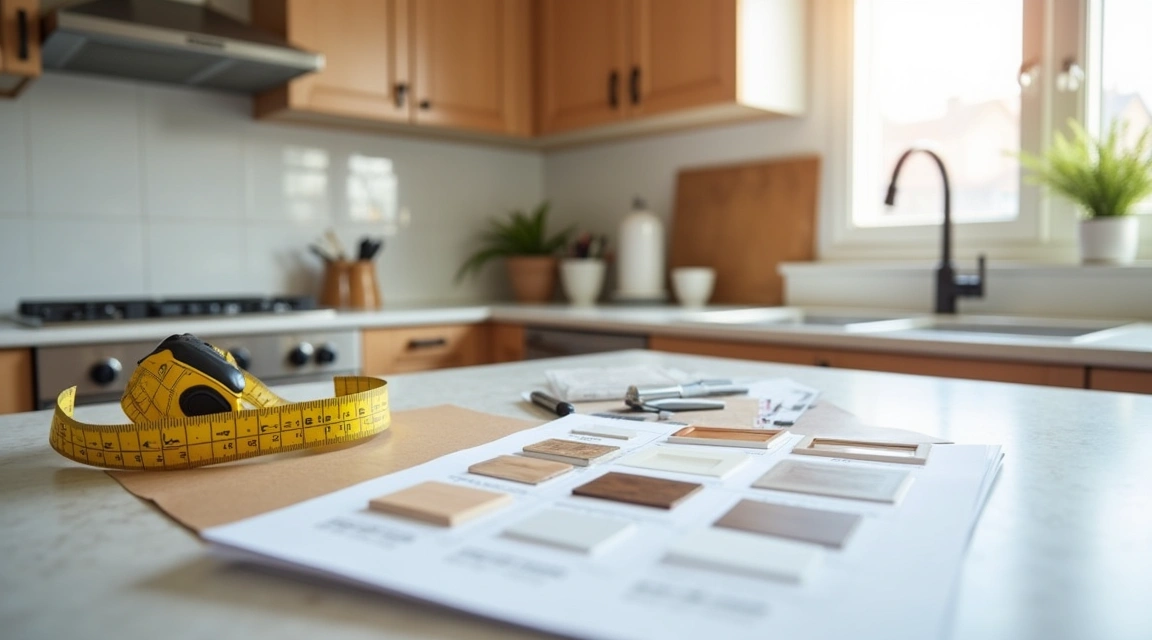
You stand in your kitchen, staring at worn cabinet doors that no longer close properly, wondering whether to paint them, replace them entirely, or try something in between. Choosing the right cabinet solution feels overwhelming when you don’t know the difference between refacing and refinishing, or when every contractor quote uses unfamiliar terms. This guide walks you through practical cabinet ideas step by step, so you can make confident decisions about storage, style, and budget without getting lost in jargon.
Cabinets define the look and function of your kitchen or bathroom. Whether you want more shelf space, a fresh color, or a complete style change, understanding your options helps you avoid costly mistakes and achieve results you’ll love for years.
Understanding Your Cabinet Upgrade Options
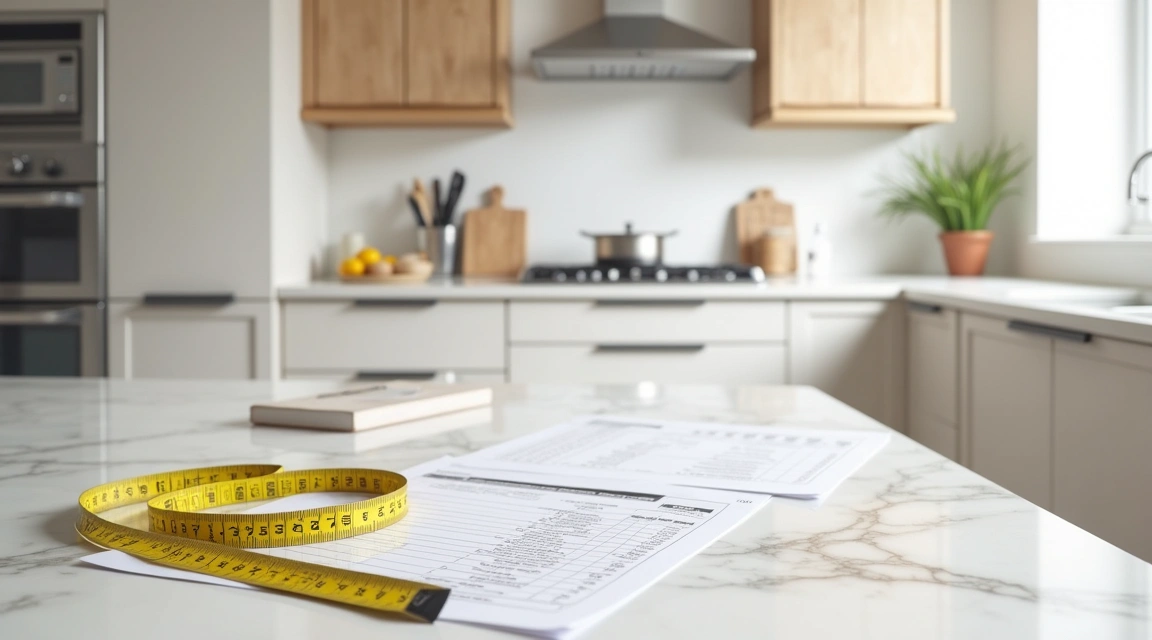
Before you commit to any project, it helps to know the basic paths available. Each approach suits different goals, budgets, and timelines.
Step 1: Decide whether you need new cabinets or can work with existing boxes. Open a cabinet door and inspect the interior frame. If the box itself is solid, level, and free from water damage or sagging shelves, you can probably keep it and change only the visible parts. If hinges pull away from soft particleboard or the frame tilts noticeably, replacement may be the safer long-term choice.
Caution: Water damage near sinks often hides inside the cabinet box. Check the bottom panel and side walls with a flashlight before deciding to reface.
Step 2: Learn the difference between painting, refacing, and replacing. Painting means cleaning, sanding, priming, and applying new paint to existing doors and frames. Refacing means keeping the cabinet boxes but installing new doors, drawer fronts, and veneer over the visible frame. Replacing means removing everything and installing brand-new cabinets.
Caution: Painting laminate or thermofoil doors requires special primer; ordinary paint will peel within months.
Step 3: Match your choice to your timeline and budget. Painting typically takes a weekend if you do it yourself, refacing takes a few days with a contractor, and full replacement can take one to three weeks depending on custom orders and installation complexity. Costs vary widely by region, material, and scope, so compare written estimates from multiple contractors rather than relying on broad averages.
Caution: DIY painting saves money but demands patience. Rushing through sanding or skipping primer leads to streaky, peeling results.
Choosing Cabinet Door Styles That Fit Your Space
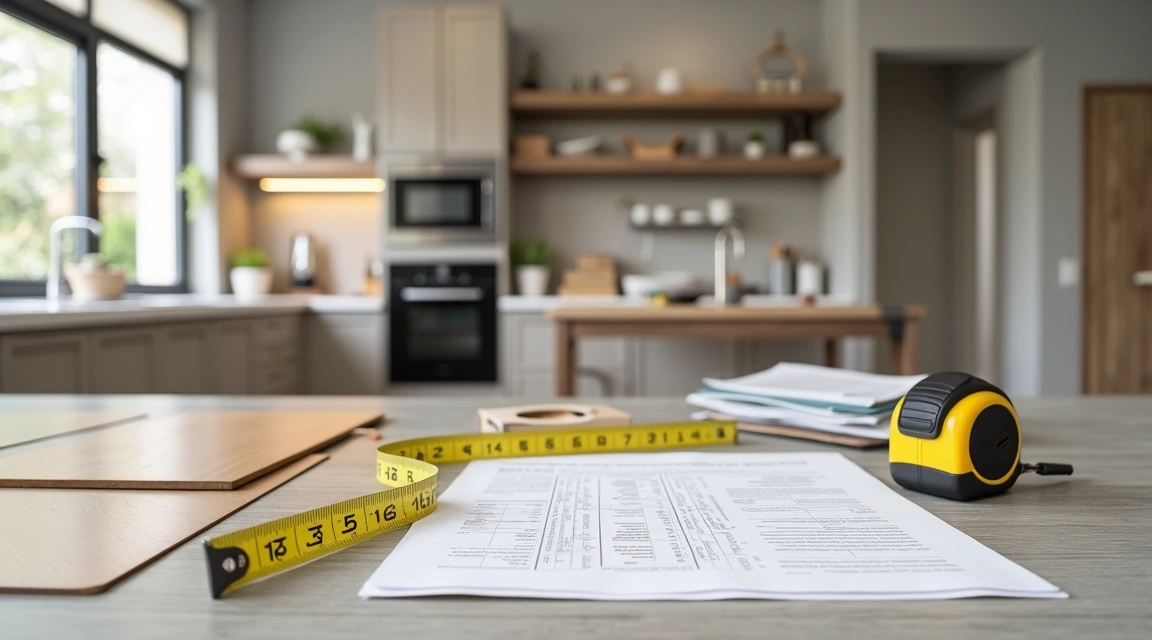
Door style changes the entire mood of a room. A few common profiles work well for beginners because they suit many home styles and remain popular over time.
Step 4: Start with shaker or slab doors for versatility. Shaker doors feature a flat center panel framed by a simple square border, giving a clean look that works in both traditional and modern kitchens. Slab doors are completely flat with no frame or detail, ideal for contemporary or minimalist spaces. Both styles are easy to clean and less likely to go out of style quickly.
Caution: Ornate raised-panel or cathedral-arch doors can date a kitchen and make small spaces feel busier. Choose them only if your home’s architecture already leans traditional.
If you want to explore more cabinet design directions, visit our Cabinet Ideas section for inspiration tailored to different room sizes and layouts.
Step 5: Consider how door color interacts with room size. Light colors such as white, cream, or pale gray reflect more light and make small kitchens feel larger. Dark colors like navy, charcoal, or espresso add drama but can shrink the visual space if natural light is limited. Test paint samples on a cabinet door in different lighting conditions before committing to gallons of paint.
Caution: Trendy colors may look exciting now but can feel outdated within a few years. Neutrals offer more flexibility when you redecorate or sell your home.
Step 6: Think about hardware as part of the overall look. Cabinet pulls and knobs are small details that make a big difference. Simple bar pulls suit modern slab doors, while cup pulls or knobs complement shaker frames. Measure the distance between existing screw holes if you plan to replace hardware without drilling new holes.
Caution: Oversized hardware can overwhelm small doors. Match the scale of the pull to the door width for balanced proportions.
Maximizing Storage Inside Your Cabinets
Beautiful doors matter less if the interior remains a chaotic jumble. Smart organization turns wasted space into useful storage.
Install pull-out shelves or lazy Susans in corner cabinets so you can reach items without crawling inside. Use shelf risers to double vertical space for dishes or canned goods. Add door-mounted racks for spices, cleaning supplies, or pot lids. Drawer dividers keep utensils separated and prevent the clutter that makes drawers hard to close.
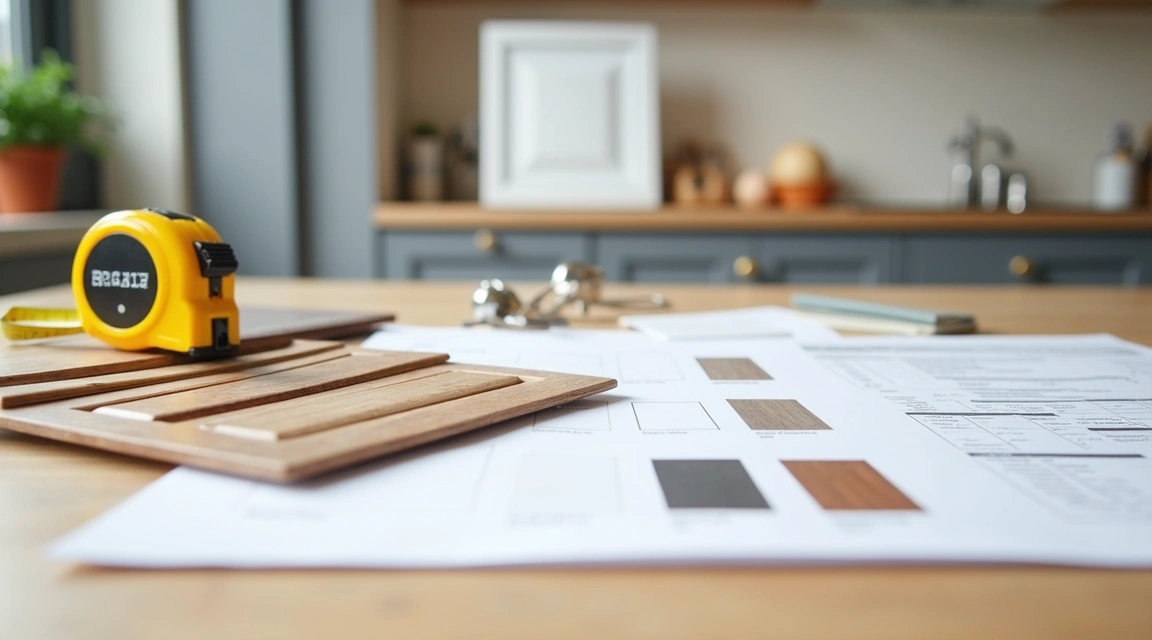
Measure the interior dimensions of each cabinet before buying organizers. A pull-out shelf that is too wide will not slide smoothly, and a lazy Susan that is too tall will hit the cabinet top when it spins. Write down height, width, and depth for every cabinet, then compare those numbers to product specifications before ordering.
Caution: Over-organizing can backfire. Leave enough open space so you can remove and replace items without a puzzle. Aim to fill cabinets about seventy percent full rather than packing every inch.
Common Mistakes Beginners Make With Cabinet Projects
Avoiding a few predictable errors saves time, money, and frustration.
One frequent mistake is skipping surface preparation when painting. Grease, dust, and old wax prevent primer from bonding, leading to peeling paint within weeks. Always clean cabinets with a degreaser, then sand lightly to create texture for the primer to grip.
Another error is choosing the wrong paint finish. Flat or matte paint shows every fingerprint and cannot be wiped clean easily. Semi-gloss or satin finishes withstand daily wear and cleaning much better in kitchens and bathrooms.
Many beginners also underestimate the importance of proper hinge and drawer-slide alignment. When doors hang crooked or drawers stick, the problem usually lies in how the hardware was installed rather than the quality of the hardware itself. Use a level during installation and adjust screws until doors close evenly with consistent gaps.
Finally, people often buy organizers before measuring, leading to returns and wasted trips. Measure first, shop second, and keep your cabinet dimension list on your phone so you always have it when browsing stores or websites.
Bringing Your Cabinet Plan Together
Once you understand your upgrade path, door style, and storage needs, you can move forward with confidence. Start small if the whole project feels overwhelming. Paint or reface a single set of upper cabinets, live with the result for a week, and then decide whether to continue. This low-risk approach lets you test colors and techniques before committing to an entire kitchen.
When hiring a contractor for refacing or replacement, ask for references and photos of completed projects similar to yours. Request a detailed written estimate that lists materials, labor, timeline, and payment schedule. Compare at least three estimates to understand the range of options and spot any unusually high or low bids that may signal quality or reliability concerns.
If you choose to do the work yourself, tackle one cabinet section at a time rather than emptying the entire kitchen at once. Label cabinet doors with painter’s tape and a number before removing them so you know exactly where each door belongs during reassembly. This simple system prevents confusion and speeds up the final installation.
Remember that cabinet upgrades do not require perfection. Small imperfections in paint or slight gaps between doors matter far less than you think once the room is furnished and in daily use. Focus on sturdy construction, smooth operation, and a cohesive look rather than chasing flawless showroom standards.
Cabinet decisions shape how you cook, store, and move through your home every day. By following clear steps, measuring carefully, and avoiding common pitfalls, you can transform tired cabinets into functional, attractive features that serve you well for many years.
—
Learn cabinet painting, refacing, and replacement step by step. Choose door styles, maximize storage, and avoid beginner mistakes in your kitchen or bath remodel.
Cabinet Ideas
cabinet refacing, cabinet painting, shaker doors, slab doors, cabinet storage, kitchen remodel, bathroom cabinets, cabinet hardware, DIY cabinets